Composting is an essential part of every healthy garden and making your own rich, crumbly compost is incredibly satisfying. Your vegetable patch and borders will thrive as you mix in your compost and enrich your soil over time. Making your own garden compost is also an easy way to help the environment.
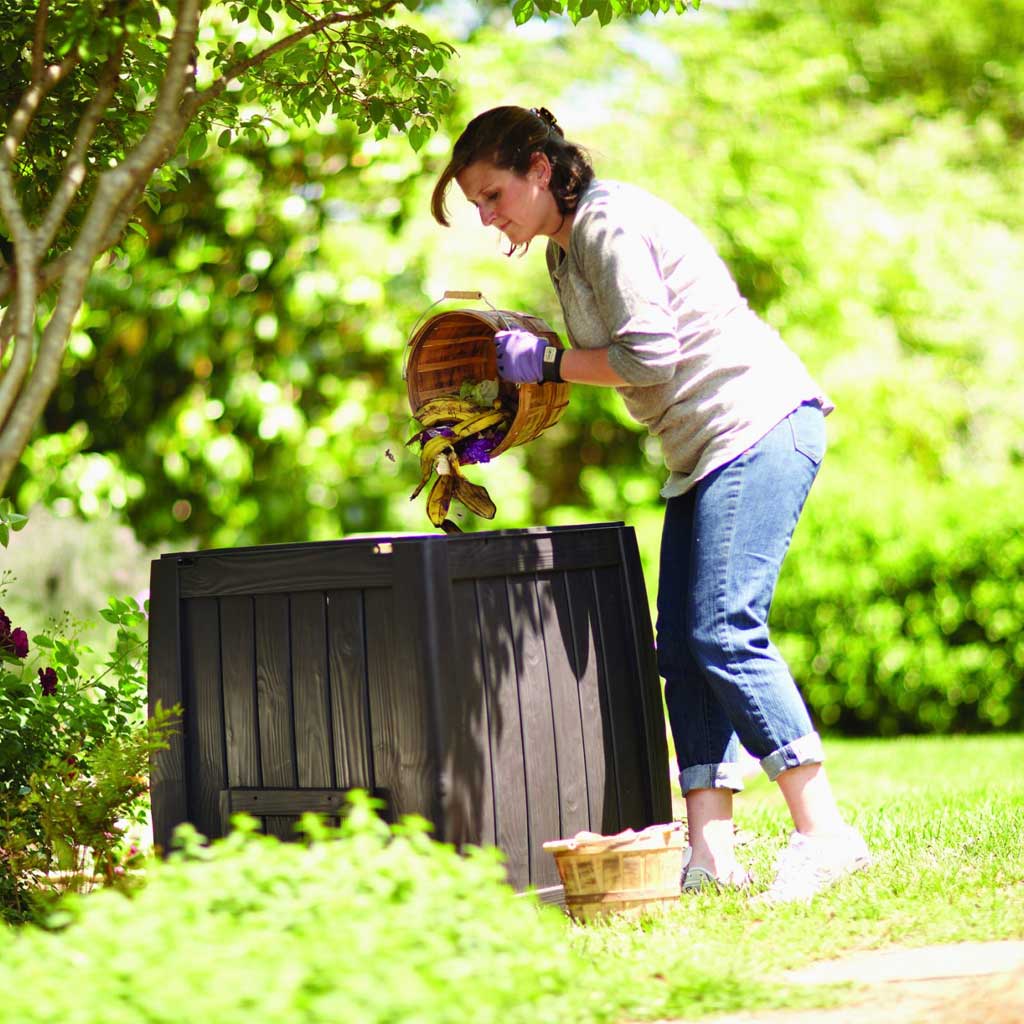
In this article, we’ve put together some guidelines for making fantastic compost and a list of what you can and can’t add to the heap.
Table of contents:
- What is compost?
- Positioning your compost bin
- What you can and can’t compost
- The perfect mix
- Compost checklist
- Speed up the composting process
- Composting leaves
- Top tips for perfect compost
What is Compost?
Garden compost is broken down organic matter. Compost is produced when micro-organisms and bacteria get to work and generate heat to decompose your organic garden and household waste.
With the right mix, an average sized compost heap (about 1x1x1m) can heat up to 70°C in just a few days. The heat generated kills weeds and diseases and speeds up the composting process.
Even if your compost heap doesn’t heat up much, the material will still break down, but over a longer period of time. The finished product can take up to a year.
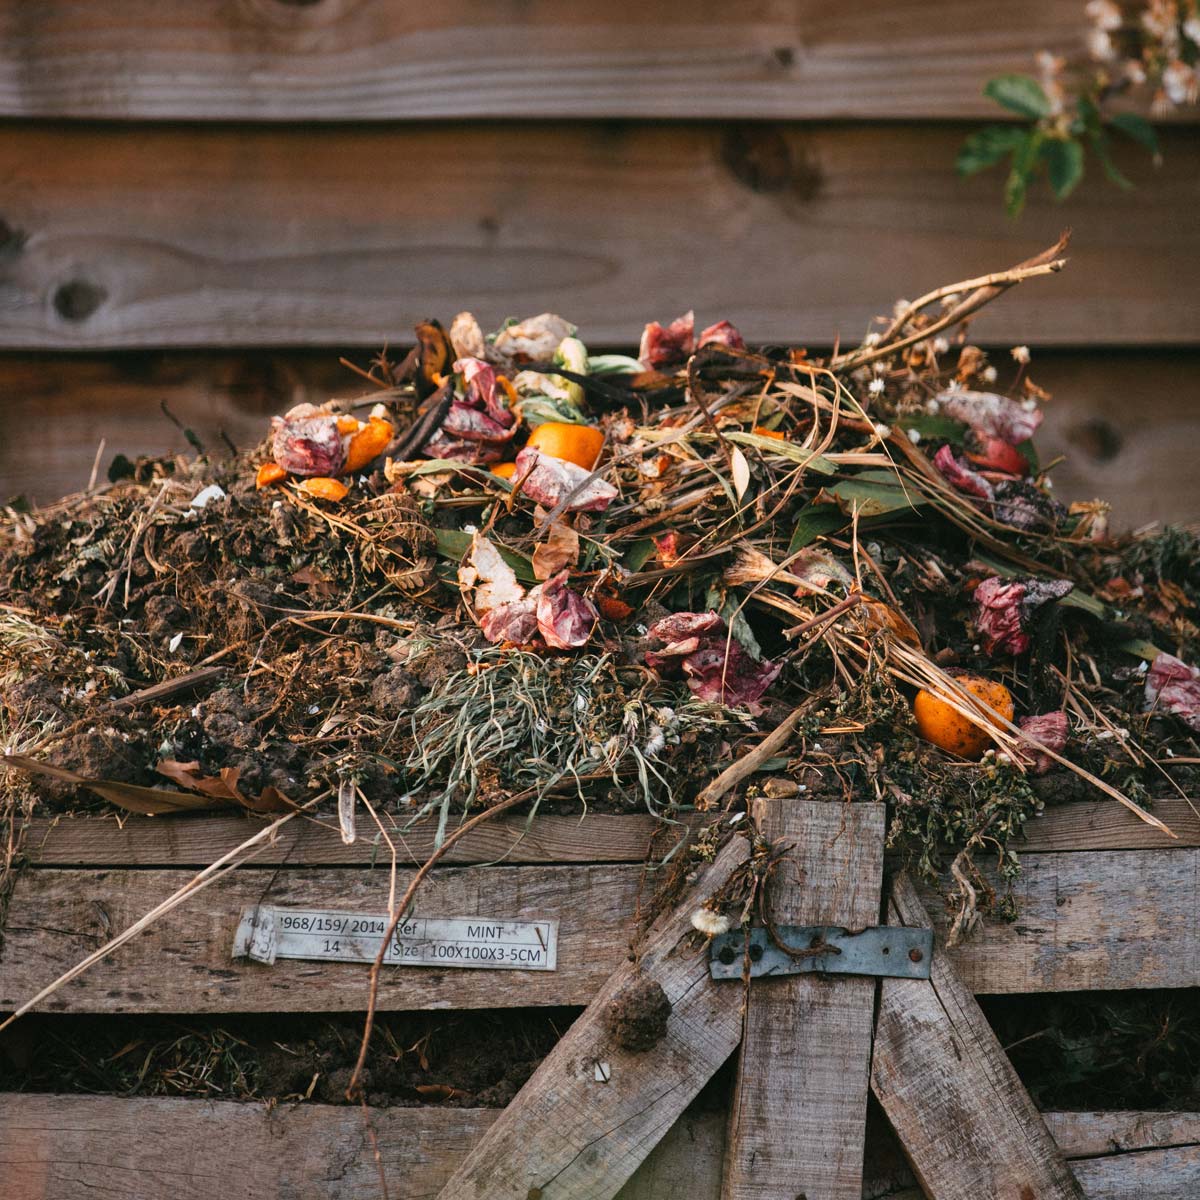
Ultimately, what you’re after is dark brown, crumbly earth that’s ready to use around your garden to improve your soil and pay rich dividends.
Compost is a free and effective fertiliser, excellent for improving your garden’s soil and giving your plants a boost. Whatever your soil type, digging in garden compost will improve it.
Compost will help your soil become easy to dig, well aerated, able to retain moisture and rich in nutrients.
WRAP research shows that each year in the UK, we throw away 6.6 million tonnes of food waste – three quarters of which is edible.
Positioning your compost bin
You don’t need a compost bin, you can just pile everything up in a corner of your garden. However, using one has its advantages – it keeps everything tidier, it’ll heat up quicker (which helps make compost more quickly), and it helps keep pests at bay.
So the first thing you need to do is make or buy a compost bin and decide where to position it.
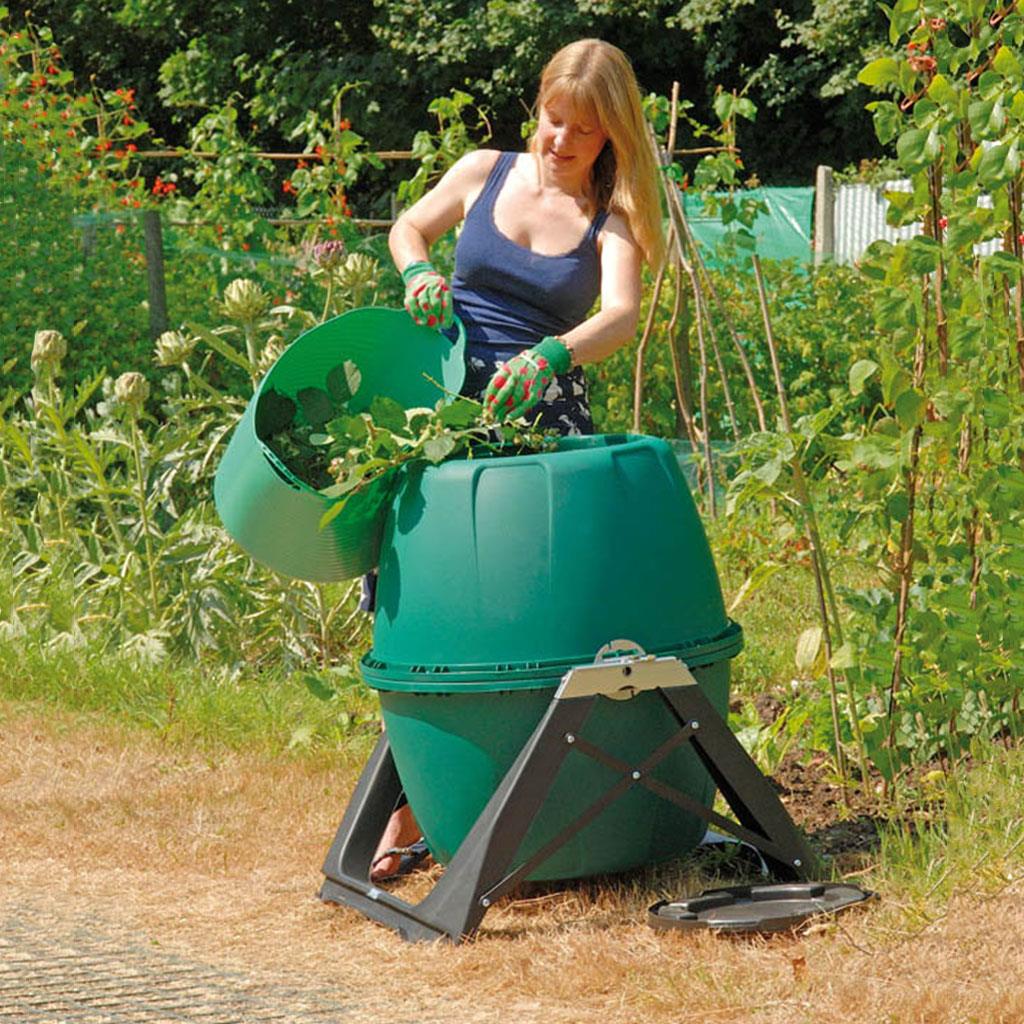
If possible, position your compost bin in an area of the garden that gets the sun. This will help it heat up and speed up the composting process.
You also need to make sure your compost bin is open to the soil so that the earth worms and other micro-organisms can easily make their way in and work their magic.
What you can and can’t compost
Just about anything that will rot down can be composted. That doesn’t mean that you should add anything and everything to your heap though.
Some food waste such as cooked food, dairy products or meat scraps (although they may break down eventually) are not suitable for home composting, mainly because they’ll attract unwanted pests.
Add your organic food waste to the pile in small batches. A compost caddy kept handy in the kitchen makes this a breeze. Then alternate your food waste with layers of garden prunings and clippings.
Take a look at our Compost Checklist for a comprehensive list of what garden and household materials can and can’t be composted.
The perfect mix
For best results, aim for a ratio of 3 parts brown to 1 part green.
The greens and browns of composting describes the two main ingredients used to make compost.
The browns (shredded prunings, straw, most leaves, etc) are rich in carbon.
The greens (grass clippings, vegetable peelings, etc) are rich in nitrogen.
As a general rule a good mix of browns and greens is needed to make compost, but for best results, aim for a ratio of 3 parts brown to 1 part green.
The reason for mixing greens and browns is simple. The nitrogen in greens encourages micro-organisms in your compost heap to multiply, thereby speeding up the composting process. And the carbon rich browns contain the energy, in the form of carbohydrates, that the soil organisms need.
Browns also help to fix the nitrogen in the heap, and reduce odours. In fact, besides colour, a good way to tell the difference between ‘greens’ and ‘browns’ is to see how each reacts to being wet over a few days. Greens will turn slimy and start to smell bad and browns won’t.
It may not always be possible to get the perfect mix of greens and browns, especially if you only have a small garden. But, you don’t need to worry, it will all break down into a rich compost in the end.
Compost Checklist
Use this list of waste products you can and can’t compost to make sure you get the best results from your heap:
You can compost
- Fruit and vegetable peelings
- Coffee grounds
- Tea leaves
- Unbleached tea bags
- Stale bread
- Eggshells
- Dead flowers
- Sawdust
- Vacuum cleaner dust and hair
- Shredded paper and cardboard
- Natural fibres (like wool and cotton)
- Leather
- Grass cuttings, non-woody prunings (woody prunings need to be shredded first) and leaves
You shouldn’t compost
- Meat, fish and bones
- Cooking oil and fats
- Cooked food
- Dairy products
- Glossy paper like magazines
- Synthetic fabrics
- Diseased plant material
- Weeds with seed heads
- Perennial roots (roots of plants lasting 3 seasons or more such as dandelions)
- Sharp or thorny materials (you don’t want to risk cutting yourself)
- Dog and cat waste
You can safely compost cooked food, meat, fish and dairy if you use the Bokashi Composting System. But, if in doubt, leave it out. Anything you’re not sure of can be sent to your local green waste recycling facility.
Speed Up the Composting Process
You can make compost in 2 to 3 months, or it can take a year. When your mix of organic kitchen scraps and garden waste has turned into a sweet smelling, crumbly material your compost is ready for use. Here’s how to speed up the process:
- Chop up or shred tough stems and prunings before adding them to your composter.
- Turn the heap on a regular basis, ideally once per week. You can use a garden fork, or buy a compost mixer tool, or make your own.
- Keep a lid on the compost pile, such as an old piece of carpet. This keeps the heat and moisture locked in, both essential for efficient composting.
- When adding your scraps, dig a hole in the pile first. This exposes the fresh material to more micro-organisms and helps keep pests at bay.
- When shopping for a compost bin, buy the biggest one you can get for your budget. The larger the composter, the more material you can add and the more heat it will generate.
Composting Autumn Leaves
Collect fallen leaves for leaf-mould. Store moist leaves in compostable leaf sacks or black plastic bags and after a year or so you’ll have a rich, crumbly mulch your plants will love.
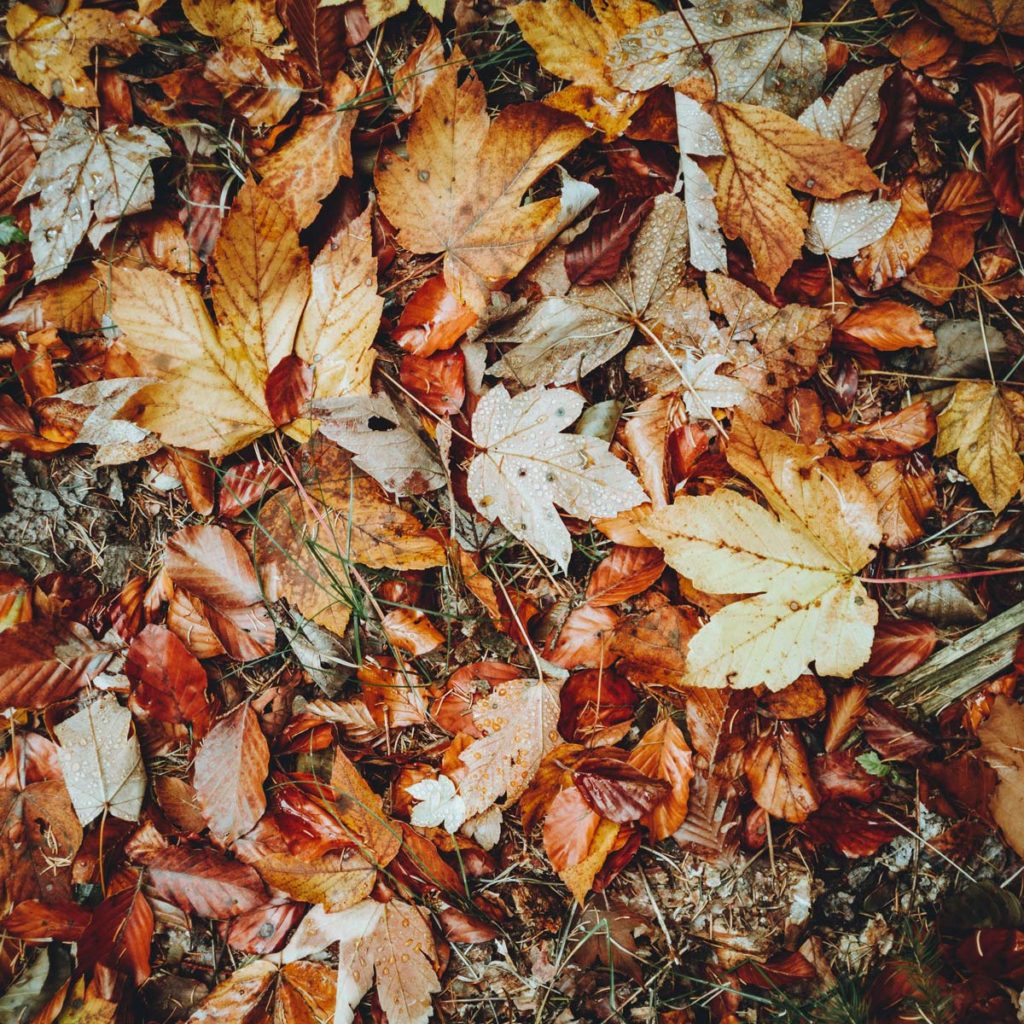
Much as I love autumn, I do dread picking up all the leaves. It’s never ending, especially when you live at the end of a wind tunnel like we do. But great things can come of all that hard work. Here’s how to turn those damp leaves into a rich mulch for your garden:
Stack your leaves in a wire mesh compost bin
You can mix a few leaves into your compost heap, but too many will make the compost slimy. You’re better off stacking large quantities separately, using a wire mesh bin to keep them tidy. You can easily cobble together a wire mesh compost bin by wrapping chicken wire around four supporting stakes.
The secret is to not let the leaves dry out. Sprinkle them with water during dry periods, or turn them occasionally to mix wet leaves with dry.
Pack the leaves into bags
If you have a smaller garden you can fill black plastic bin liners with your leaves. Rake them up just after rain so they’re nice and moist and pack them into the bags. Tie the bags at the top and pierce them to encourage air to circulate. Alternatively, you can use biodegradable leaf sacks. Stack the bags somewhere out of the way and forget about them for at least a year while the leaves break down into a rich, crumbly leaf-mould.
Some leaves take longer to decompose than others. You’ll find, for example, that oak, hornbeam and alder leaves will take longer to break down than sycamore, chestnut and beech. Avoid using evergreen leaves for leaf-mould because they take too long to break down.
Good things come to those who wait
Although leaf-mould takes longer to make than compost, once you’ve packed the leaves in a wire mesh bin or plastic bags you can just leave them alone. After about 12 months you’ll have a rich, crumbly mulch, which you can either spread around the plants and borders in your garden, dig in as a soil improver, or mix with your potting compost.
Top Tips For Perfect Compost

Most experienced gardeners have their tried and tested method for producing perfect compost. We wouldn’t dare challenge any of them, but here are a few tips from our own experience:
1. Make sure your heap is handy
When setting up your compost heap find a spot in your garden that’s fairly close to the kitchen, so that it’s handy enough so you don’t mind popping out with kitchen waste fairly frequently. And, if you’re using a bin rather than a simple pile, make sure it’s in a sunny spot to help it heat up.
2. Build your compost bin on the cheap
The only piece of equipment you must have to make compost is a garden fork. You don’t even need a compost bin. If you want you can just build a heap and cover it over with some old carpet or cardboard. But, a compost bin will keep the compost heap neater and help keep pests away.
You can build your own using recycled materials such as brick, stone, timber or plastic. For example, you can assemble a bin from old wooden pallets, or cut the bottom out of an old plastic dustbin and press the bin into the soil, keeping the lid to cover it.
3. Leave some room around your compost heap
Remember to leave plenty of room to get to your compost heap with a wheelbarrow.
If you’re making a wooden compost bin, build a four-sided frame about 1 metre cubed that is open at the top and make sure one of the sides can be easily removed so you can easily turn the heap and get the ‘cooked’ compost out.
4. Protect your pile
If vermin such as rats are present in your area, they may pay your compost heap a visit in the same way that they might visit any other part of the garden. Bury wire netting 30cm deep around your compost heap to keep them out.
If pests are a nuisance, consider buying a compost tumbler. A tumbler is generally a closed unit composter barrel held off the ground by a metal frame.
5. Help the worms help you
Worms and other soil organisms are crucial for making good quality compost. Make sure you position your heap on a level, well-drained area of soil. The worms will soon find your heap, but if you want to boost your compost production, bags of worms can be bought on the internet. The best worms to get are tiger worms (elsena fetida). Don’t worry about adding too many, their numbers will quickly adjust to suit the conditions.
6. Blend your ‘browns’ and your ‘greens’
Add alternating layers of carbon-rich ‘brown’ materials such as dried leaves, egg boxes, sawdust, dead flower stalks and twigs with soggy, nitrogen-rich ‘green’ materials such as cut grass, manure, tea bags and vegetable and fruit peelings.
7. Ask your neighbours to contribute
If your neighbours aren’t composting themselves, they may be willing to contribute to your pile. Ask your neighbours for any organic waste they might otherwise throw in the rubbish.
While you’re at it, offer to gather up compostables from your workplace; unbleached tea bags and coffee grounds break down very quickly and supply proteins, oils and nitrogen. Extra material means extra heat and faster composting. Pile it all on your compost heap to rot down into glorious soil food.
8. Regularly ‘turn’ your compost heap
If you have the energy and the motivation, ‘turning’ your compost heap at least every couple of weeks will speed up the composting process no end.
A compost tumbler makes this process extremely easy, and you’ll find yourself rotating the barrel every time you head out to unload the caddy.
You may also like…
Wormery Composting | Bokashi Composting | Compost Bins Reviewed